

Getting Started with Hypersender SDK
This guide will walk you through the process of installing and configuring the Hypersender PHP SDK for your Laravel application.Prerequisites
Before you begin, ensure you have the following:- PHP ^8.2 or higher: The SDK requires PHP version 8.2 or higher to function properly.
- Composer: For package management and dependency resolution
- Hypersender account: Sign up at Hypersender to obtain your API key and Instance ID.
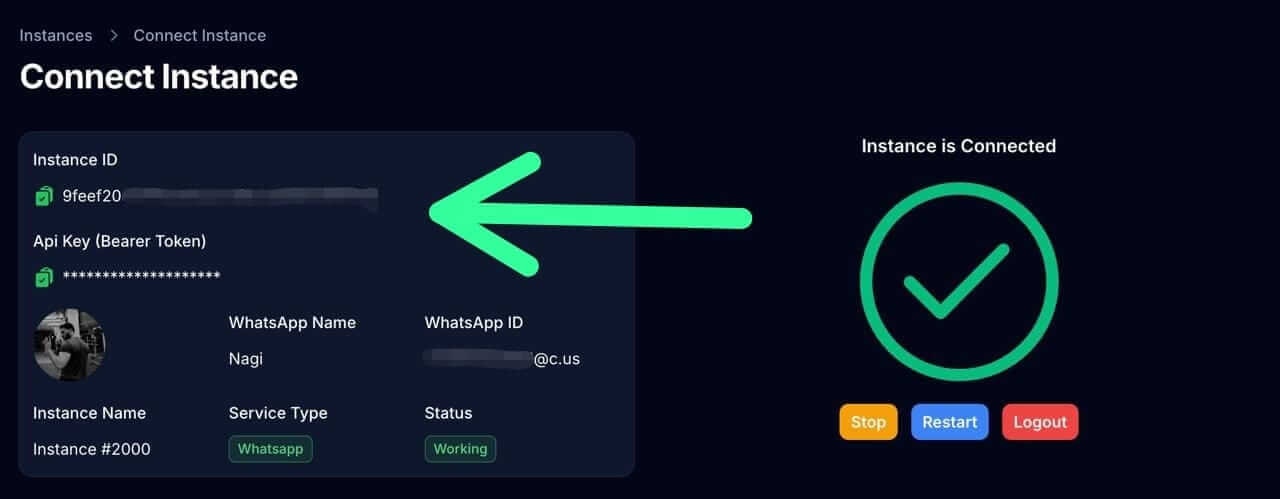
Installation
1
Install the SDK via Composer
Run the following command in your terminal to install the Hypersender PHP SDK:
2
Publish the Configuration File
Publish the configuration file using the following Artisan command:This will create a
hypersender-config.php configuration file in your config directory.3
Configure Environment Variables
Open the
hypersender-config.php configuration file, you’ll find different options to set up the SDK to work with Whatsapp API, SMS API or both.For WhatsApp API, set the following environment variables in your .env file:For SMS API, set the following environment variables in your .env file:For OTP API, set the following environment variables in your .env file:You’re all set!
You have successfully installed and configured the Hypersender PHP SDK in your Laravel application. You can now start using the SDK to send messages and manage your communications, check out the Usage Guide to learn more about how to use the SDK effectively.- WhatsApp: Usage Guide
- SMS: Usage Guide